Perfect Sculpting
|
Application, scratch coat, textures, details coats, layers and finishes
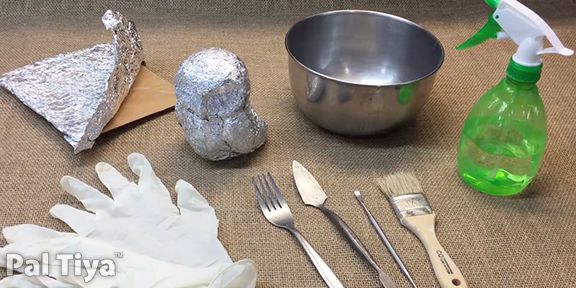
So you’ve planned your sculpture. You’ve made your armature with crushed tinfoil or something else covered in crushed tinfoil and you’ve mixed up a batch of Pal Tiya Premium and are ready to apply it to your form. ENVIRONMENT The optimal working temperature for our product is 61-70 Degrees F. (16-21 degrees C). Much hotter than that, and the material will cure faster. Using cooler water will slow down the cure time. Here’s everything you’ll need to start sculpting: -Gloves -Mask (not pictured) -Towel to cover bowl whilst mixing (not pictured) -Fork -Square & Trowel -Small dental tool -Chip brush -Tinfoil -Spray bottle for water -Bowl |
|
|
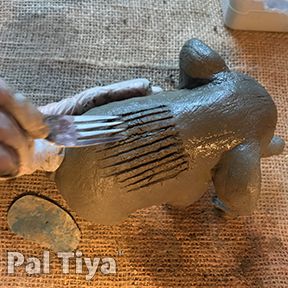
Remember once mixed Pal Tiya Premium will stay in what we call the “super plastic state” for approx 15 minutes. After that, Pal Tiya Premium will begin to gradually firm-up ready to begin sculpting your detail work. For fine detail and texture you will have another 2 hours to finish that section.
|
|

|
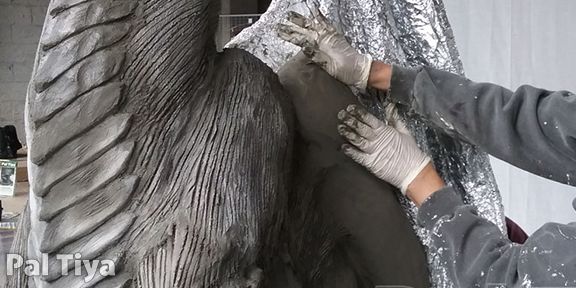
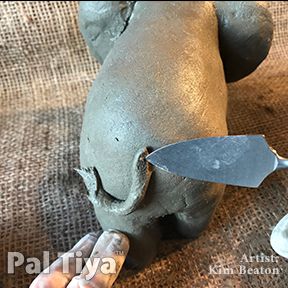
Press your dough firmly into the crushed tinfoil surface. What we like to do is cover the entire thing and pop on a scratch coat (pic of scratch coat) and then we take our time doing section by section on our piece. Of course you can simply complete your sculpture without a scratch coat especially if it is below 12 inches (1 ft).
|
|
SCRATCH COATS
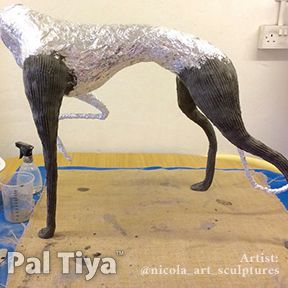
The beauty of working with Pal Tiya Premium is that you can be working on several sculptures at once. As long as you have covered your armature in a scratch coat and start to cure it using the methods on our curing page then you can come back at any time in the future, mix up a fresh batch, lightly mist the scratch coat and then start sculpting. The fresh batch will laminate perfectly to the scratch coated surface.
So need to leave your sculpture in a hurry? Going on vacation? No problem!
|
|
|
|
THICKNESS
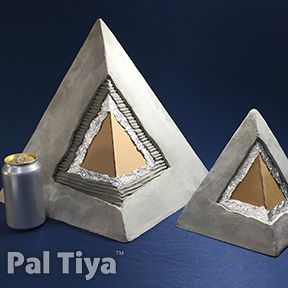
Pal Tiya Premium is most effective as a strong hollow shell. This saves both time, effort and money. Build a supporting core first (Foil, foam, wire, etc). Over this, apply your coat of Pal Tiya Premium and begin sculpting.
The final total thickness of a Pal Tiya Premium sculpture is dependent on its size.
Final total thickness for:
1/8 inch (3mm) for really small hand-sized sculptures that will likely be completed in one day.
1/4 inch (5mm) for small sculptures (under 1 ft tall) that will be done over a few days.
1/2 inch (6-12mm) for medium sculptures – between 1-3 ft tall (including scratch coat - as discussed on planning page)
3/4 inch (18mm) for larger sculptures – over 3ft (including scratch coat - as discussed on planning page)
|
|
|
Another bonus of using Pal Tiya Premium is that you can get almost any finish you can dream of.
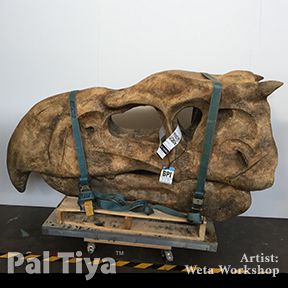
Bone
|
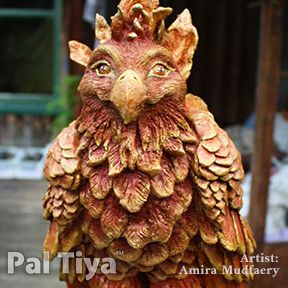
Feathers
|
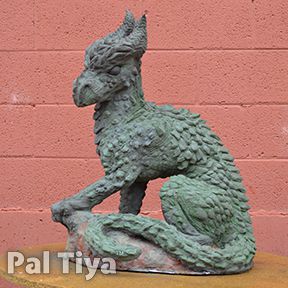
Dragon Skin
|
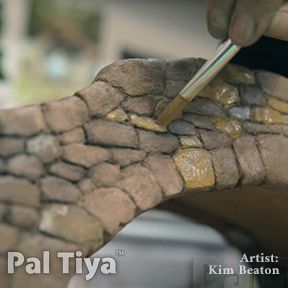
Stone
|
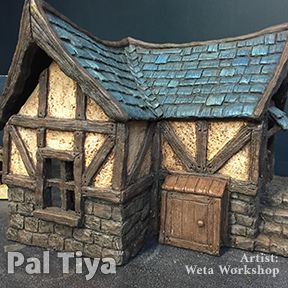
Tile, Wood, Stone, Wattle and Daub
|
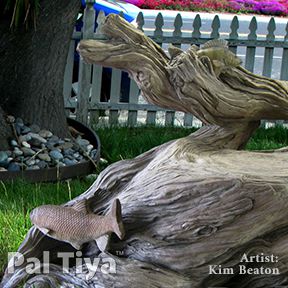
Wood, Fish Scales
|
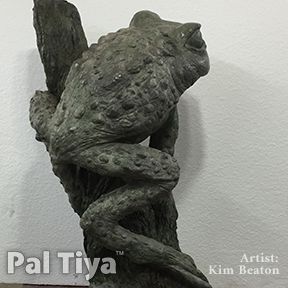
Reptile Skin
|
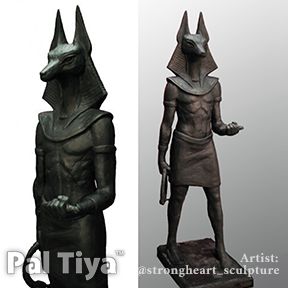
Polished Stone
|
Some short videos showing how easy it is to achieve different textures in Pal Tiya Premium
|
|
|
|
|
|
|
|
IMPRINTS AND IMPRESSIONS
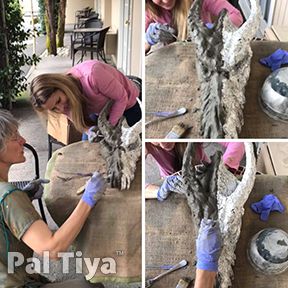
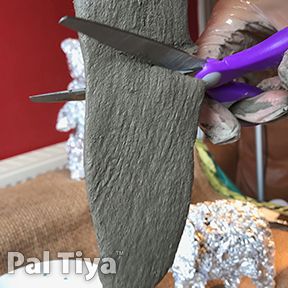
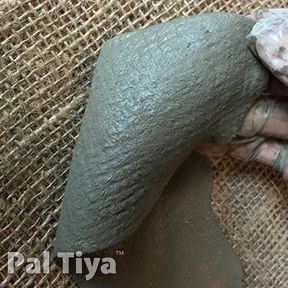
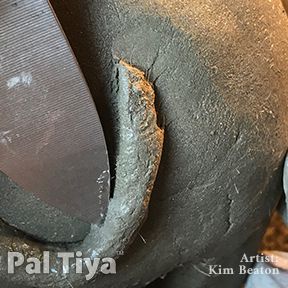
Pal Tiya Premium can be cut - this means you could custom make clothes and collars etc for your sculpture. It can also be pressed into almost anything to get an impression. Here we show you it being pressed into burlap to achieve a cloth like finish.
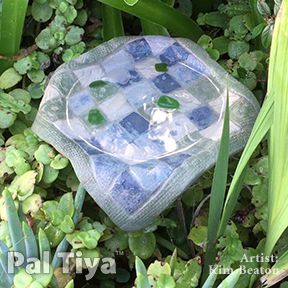
It can be made into any shape like this little birdbath we draped over a bowl whilst curing to achieve this draped look
Pal Tiya Premium can be cut - this means you could custom make clothes and collars etc for your sculpture. It can also be pressed into almost anything to get an impression. Here we show you it being pressed into burlap to achieve a cloth like finish.
It can be made into any shape like this little birdbath we draped over a bowl whilst curing to achieve this draped look
|
|

|
|
FINER DETAILED PIECES
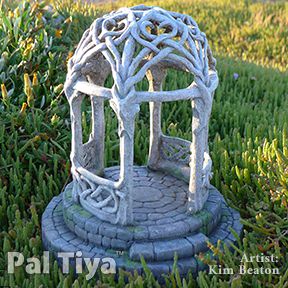
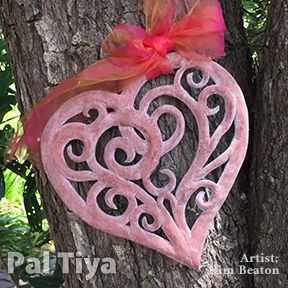
Pal Tiya Premium can be rolled on a slightly damp towel to make what we call "snakes". You can add these snakes together to make structures like the little gazebo and heart tree hanging. You can make these flat with no armature or over something you later remove.
Pal Tiya Premium can be rolled on a slightly damp towel to make what we call "snakes". You can add these snakes together to make structures like the little gazebo and heart tree hanging. You can make these flat with no armature or over something you later remove.
|
|
|
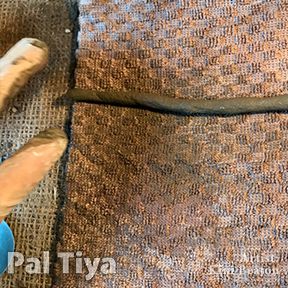
It is important when adding details like this that you pull the fibers in our product across any gap. We call this technique stitching and this will ensure your product lasts in freeze/thaw.
|
|
Want to work on something over time?
No problem at all.
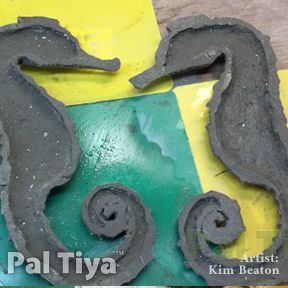
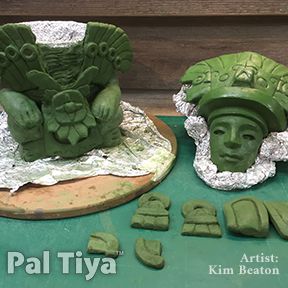
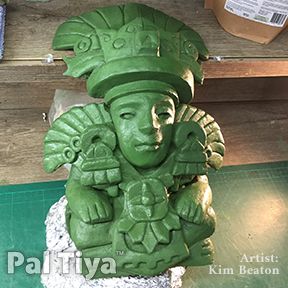
You can actually pre-make components like we did with this Zapotec inspired flower pot and two sided seahorse.
This way you can make them, leave them and as long as you leave a scratch coat on the two pieces you want to affix together later, come back and “glue” them together. Essentially you just need to mist them, mix up a fresh batch of PTP and then press it firmly into the grooves of your scratch coat and voila!
No problem at all.
You can actually pre-make components like we did with this Zapotec inspired flower pot and two sided seahorse.
This way you can make them, leave them and as long as you leave a scratch coat on the two pieces you want to affix together later, come back and “glue” them together. Essentially you just need to mist them, mix up a fresh batch of PTP and then press it firmly into the grooves of your scratch coat and voila!

|
|
|
|
If your sculpture is fairly simple in nature and you finish it in one day you are now ready to cure your sculpture - visit our curing page for that.
Not finished on day 1? No problemo…
Securely wrap it in plastic on the first day of sculpting. We use plastic shopping bags or ziploc bags for smaller pieces and plastic sheeting for large works.
Sculpting with our product has been described as exhilarating. As it cures, it changes in consistency, giving you a wildly exciting sculpting experience!
|
SCULPTING ON DAY 2 OF CURING
When you take your sculpture out of the plastic on the second day, it will be the consistency of a soft wood and you may continue to sculpt or carve on your work if you decide to. This is when you might add to your prepared scratch coat surface to continue to add detail. Simply mist the whole thing with as little water, mix up a fresh batch and start sculpting away! We have a little video here that shows you what to do when you are working on a piece for several days. The video shows you far better than we can tell you :) |
|
|
SCULPTING ON DAY 3 OF CURING
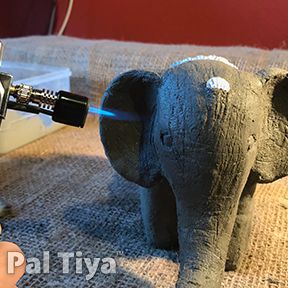
On the third day, your sculpture will be the consistency of hard wood and can still be worked as such. If you don’t like any fibers that might be sticking/fuzzing up, you can use a propane/chef's torch and waft the flame quickly over your sculpture to burn them off. You can also sand them. IMPORTANT: Do this in a well ventilated area. |
|
|
|
SCULPTING ON DAY 4 OF CURING
On the 4th day it feels like stone and may still be 'just' carve-able but you’ll likely need power tools at this point. IMPORTANT: If you ever want to add to a sculpture later on, please remember to pop on that scratch coat or else PTP won’t adhere to your sculpture! |
|
|
|
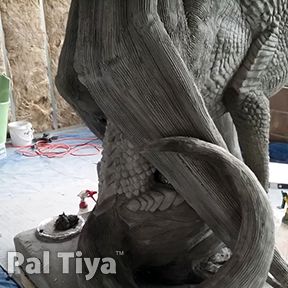
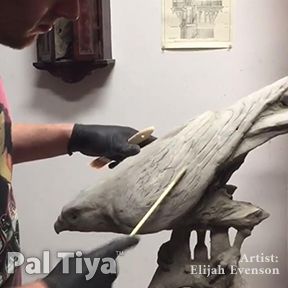
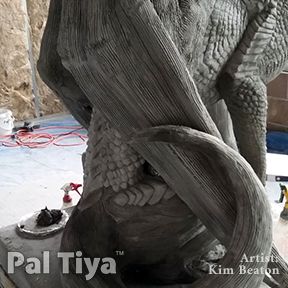
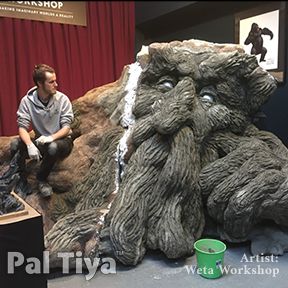
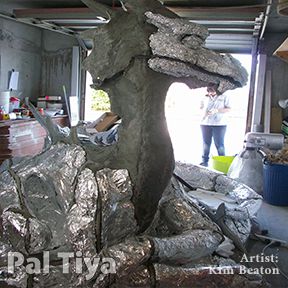
A NOTE ON LARGE SCULPTURES
When you’re sculpting a very large piece such as these and you’ve looked at our planning page remember to fill any internal ribs with pure Pal Tiya Premium. This will make your sculpture monolithically robust! We also have more information about armatures for large pieces and encasing some Pal Tiya Premium to any wire or steel inside your armature so it is very strong and robust. Please see this Planning section for Large pieces as you will need to consider transportation before you begin sculpting. |
|
|